Filters
JIRA is based around the central concept of an issue. When you start collecting a large number of issues in a project you need a way to find what you are looking for and identify a subset of issues. Powerful issue search functionality is included in JIRA using both the GUI and the JIRA Query Language (JQL).
Saving a search as a filter
To save a search as a filter:
- Define and run your search as described in Searching for Issues.
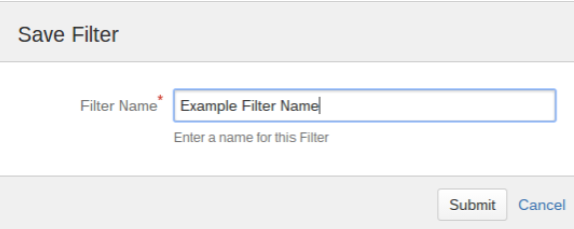
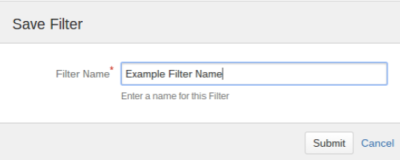
- Click the Save as link above the search results. The Save Filter dialog is displayed.
- Enter a name for the new filter and click Submit. Your filter is created.
About saved filters:
- Your new filter is added to your favorite filters.
- Your new filter is shared according to the sharing preference in your user profile.
- If you have not specified a personal preference, then the global default for sharing applies (i.e. Private, unless it’s been changed by your JIRA Administrator).
- You need the Create Shared Object global permission to be able to share your filter. If you do not see the Share field, contact your JIRA Administrator to have this permission added to your profile.
- To change how your new filter is shared, refer to the instructions on sharing filters.
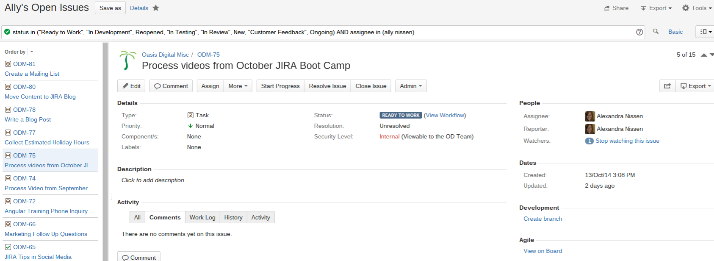
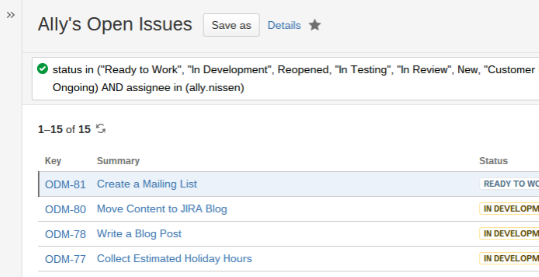
 Screenshot: Issue filter results in detail view
In addition to filtering to a list you can also do the following with JIRA filters:
- Share, export, and email search results
- To export filters, select Issues, then Search for Issues.
- Select the filter you would like to export, and click on the “Export” button in the top right corner.
- Select which format you would like your filter to be exported to.
- Create lists of favorite filters and share with with other JIRA users
- At the menu bar at the top of the page, click Issues, then Manage Filters.
- If the filter you wish to favorite was created by you, click on the “My” tab on the left sidebar.
- If the filter you wish to favorite was created by someone else, use the “Search” tab, also on the left sidebar.
- Select the star to the left of the filter name to add it to your favorites.
- If you are currently viewing a filter and would like to make it a favorite, click the star to the right of the filter name.
- Schedule search results to be emailed to you
- At the menu bar at the top of the page, click Issues, then Manage Filters.
- This will bring you to a list of available filters.
- Select the filter you wish to be emailed to you and click on its “Subscribe” link located to the right.
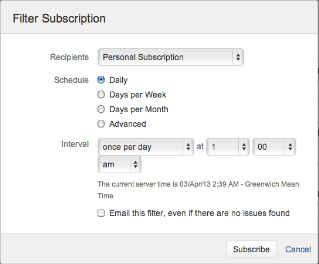
- Select “Personal Subscription” if you want the emails to be sent only to you. Select a group of recipients if others are to receive the emails as well.
- Select how often you would like to receive email updates.
- Hit “Subscribe” in the box at the bottom of the window. You will then be brought to a subscription summary page.
- Display the search results in a report format
- On the project you want to generate a report for, hit the “Overview” tab.
- Choose the “Reports” in the lefthand sidebar, and select the type of report format you would like to generate.
- Display the search results in a dashboard Gadget
- At the top righthand corner of the dashboard, click the box that says “Add Gadget.”
- A window with a selection of gadgets will appear.
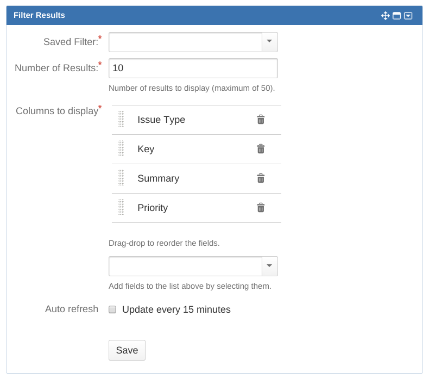
- Select the gadget “Filter Results.”
- Choose which filter you would like displayed, as well the number of results, and columns to display.
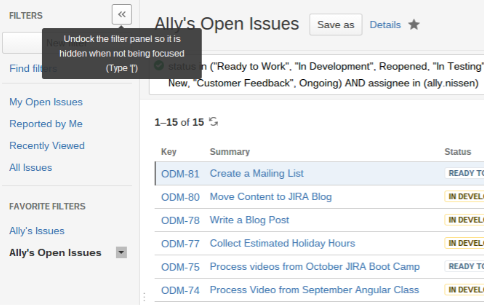
To redisplay the panel, click the arrow and then select the word Dock that appears. This puts the filter panel back in its place.
Managing your existing filters
The Manage Filters page allows you to view and configure filters that you have created, as well as work with filters that other users have shared with you. You can access this page by selecting Find filters or through the Issues > Manage Filters menu option.

