
How to Create a Dashboard

A dashboard in JIRA can be a powerful way to display information to your team, monitor progress, compare projects, compare individuals/groups, and understand weaknesses in your systems. The list of gadgets is expanding all the time, I rarely create a project that does not have a presence on a dashboard. They are a powerful tool in JIRA and worth using.
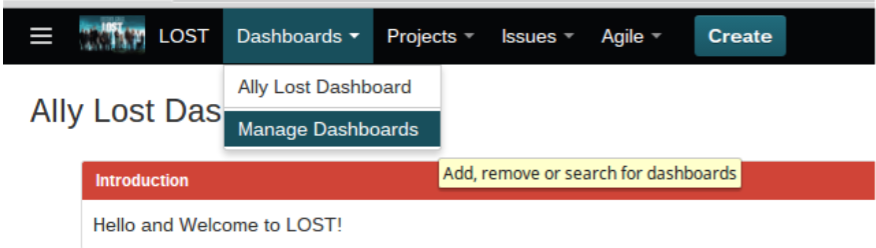
- Click the down arrow next to “Dashboards” and select “Manage Dashboards.”

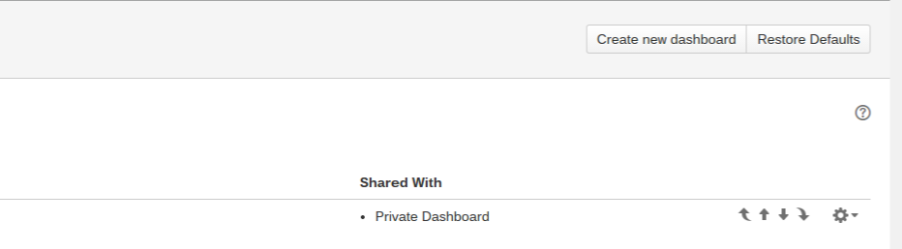
- In the top right hand corner of the Dashboard Management page, click on the box that reads “Create New Dashboard.

- This will bring you to the “Create New Dashboard” Screen. In this screen you will be able to:
- Name your new dashboard, as well as provide a description.
- Select whether or not to start from a blank dashboard, or start from one that you have already created. This tool is very useful for tracking multiple projects, or creating team dashboards for various teams.
- Select who you would like to share this dashboard with.
Once you are finished, click add to begin personalizing your new dashboard.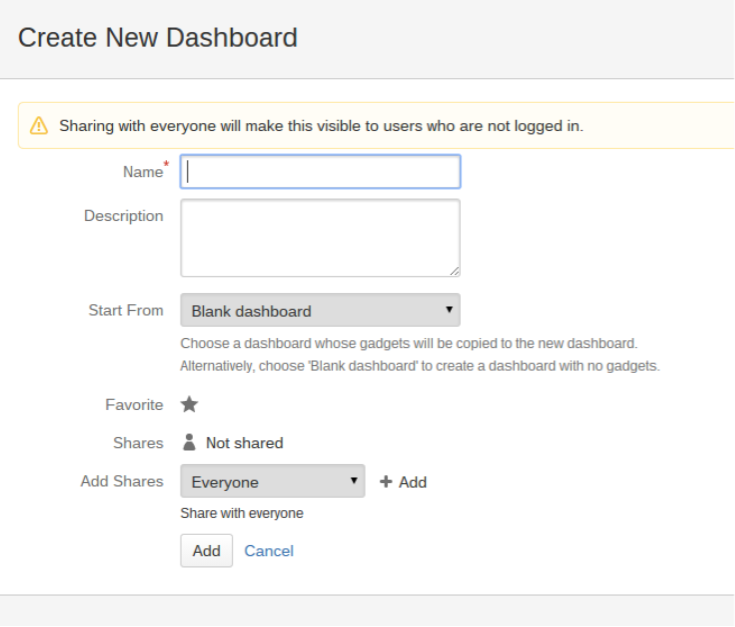
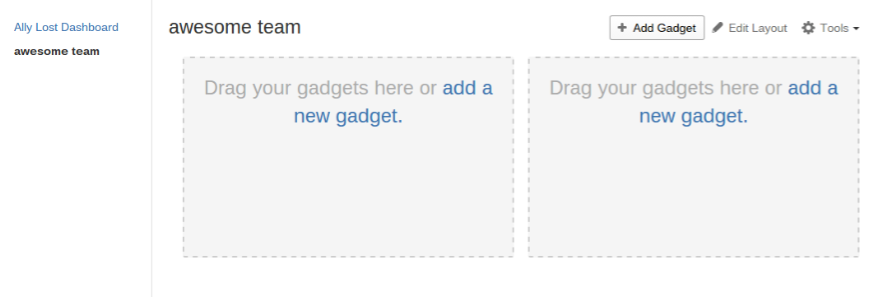
4. Customize your dashboard to your needs by adding gadgets. In the top right corner, click the “Add Gadget” box to get a list of all the gadgets JIRA has to offer. Gadgets are easy to add and remove, so configuring your dashboard to what you need is simple.

5. Lastly, introduce your dashboard as a Wallboard
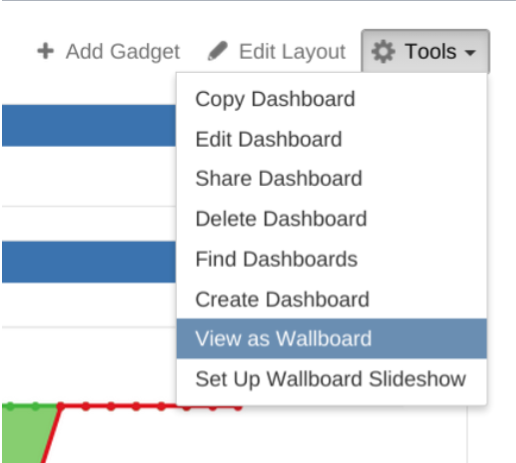
- In the top right hand corner of your dashboard, click on the box labeled “Tools.”
- Then click on “View as Wallboard.” You will be taken to the wallboard screen.
