
How to Create a Dashboard

Creating a Dashboard
When you begin to use JIRA for the first time, the dashboard that appears is one that has been configured by your JIRA administrator, a “default” dashboard. While you cannot edit the default dashboard, you can quickly create your own, and then customize it to your liking.
To create your own dashboard:
- In the top right of the Dashboard, select the “Tools” dropdown menu.
- To create a new, blank dashboard, select ‘Create Dashboard’. Or you can create a copy of the dashboard you are viewing by selecting ‘Copy Dashboard.’
Your dashboard is now ready for you to customize:
Choosing a Dashboard Layout
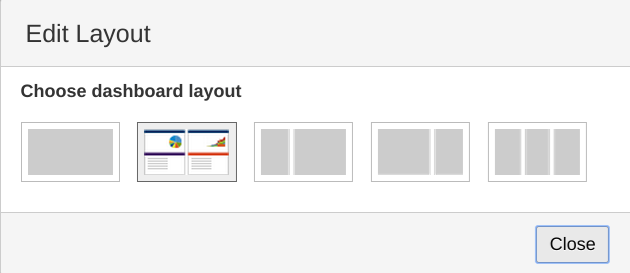
To pick a different dashboard layout for your page (e.g. one column wider than the other):
- In the top right corner of the Dashboard, select the ‘Edit Layout’ button. Various layouts will be displayed:

- Choose your favored layout.
Adding a Gadget
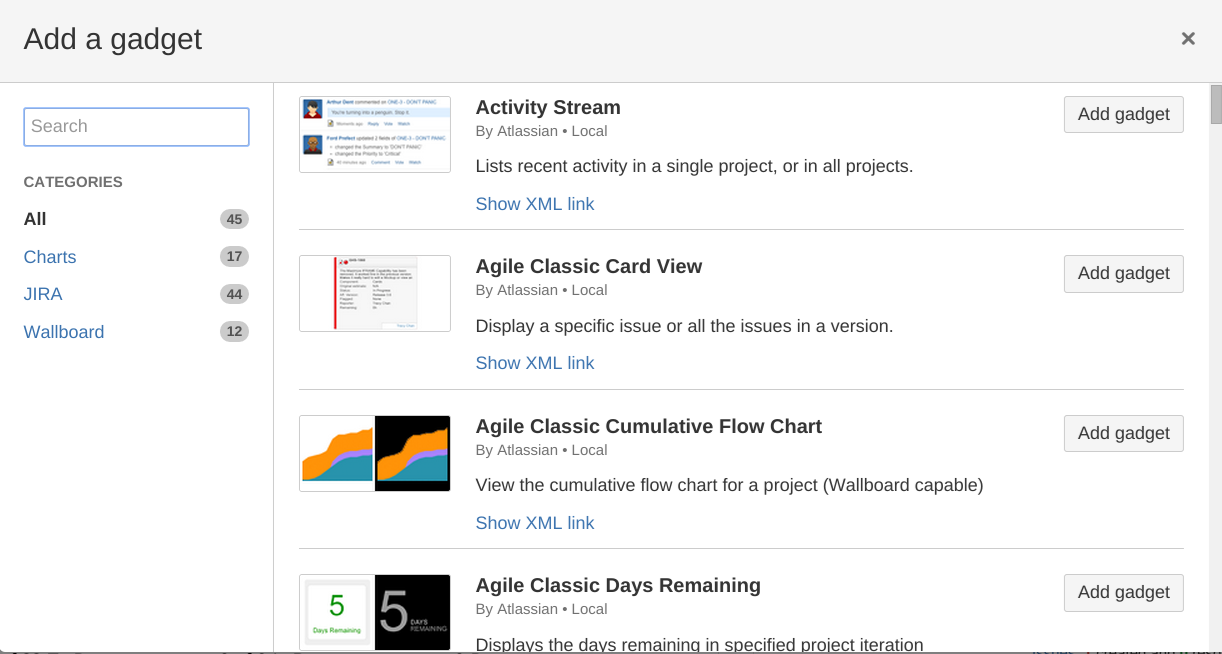
- In the top right corner of the Dashboard, select the ‘Add Gadget’ button.
- Various gadgets will be displayed:

- Click a category in the left column to display the list of gadgets in the right column of that category.
- Click the ‘Add gadget’ button to the right of your selected gadget. Add all of the gadgets you would like to display on your dashboard.
- Click the ‘X’ button in the top right corner of the window to return to your Dashboard.
- Some gadgets will require configuration. If so, the gadget will display a configuration page. Configure the gadget to your needs and select ‘Save’.
Moving a Gadget
Click the gadget you would like to move, and drag it to the new position on your dashboard.
Removing a Gadget
To delete a gadget from your dashboard:
- Move your mouse over the top right corner of the gadget you want to delete until the down-arrow is revealed.
- Select the down-arrow button to display the following menu:
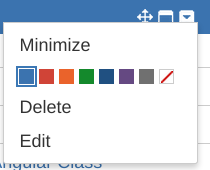
- Click ‘Delete’.